Build Your Own IPS w/ Suricata Container on VyOS Router

In this post I'm going to walk through building a best-in-class, in-line, fail-open, IPS using a Suricata container running on a VyOS router.
Published on June 13, 2021 by Tony E.
suricata vyos ips intrusion prevention
11 min READ
In this post I’m going to walk through building a best-in-class, in-line, fail-open, IPS using a Suricata container running on a VyOS router.
After reading a recent blog from the VyOS dev team demonstrating an example of supporting containers natively from the VyOS CLI, I knew I had to try it with Suricata. Combining an amazing routing platform, with best in class Network Security Monitoring (NSM) and Intrusion Prevention System (IPS), both of which are Free and Open Source Software (FOSS) has been a dream of mine.
INB4: Yes, I am well aware that pfsense and OPNsense has Suricata and FRR plugin’s available. I’ll withold my opinions of them from this post and save my commentary on them for a different post. (I’m not a fan! ![]() )
)
The Problem Statement:
I needed to build a proof-of-concept to standardize the router/gateway/edge hardware for my companies locations.
- Hardware should be my companies own hardware.
- Platform must support automation via ansible and API.
- Platform should be FOSS.
- Software should be modular. (the ability to add, remove or modify components as necessary)
- Network Security Monitoring (NSM), Intrusion Prevention System (IPS) and other Next-Gen FW capabilities should be supported.
This blog doesn’t dive into automation or other resource and performance monitoring but, it is the first in a series of proof of concepts using my companies own hardware as an all-in-one platform that fits our needs. Hopefully many more fun usecases and experiments to come. 🤞
-
Proof of Concept:
- VyOS & Suricata
- VyOS & Zeek
-
Performance Testing:
- VyOS & Suricata on SN-3000 Hardware
- VyOS & Zeek on SN-3000 Hardware
- Automation Tooling
- Operational Playbooks
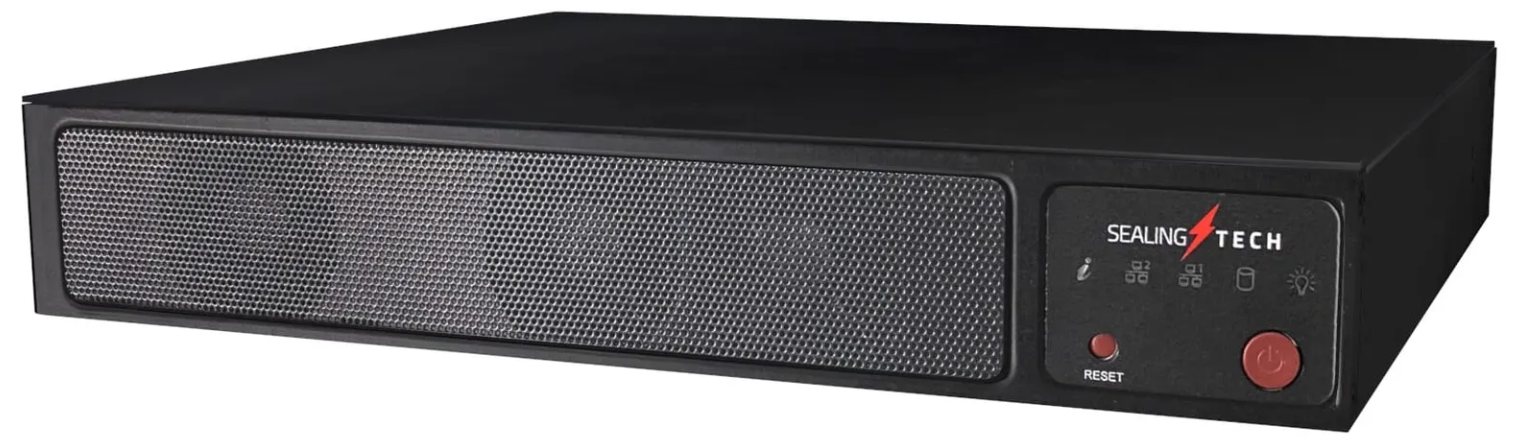
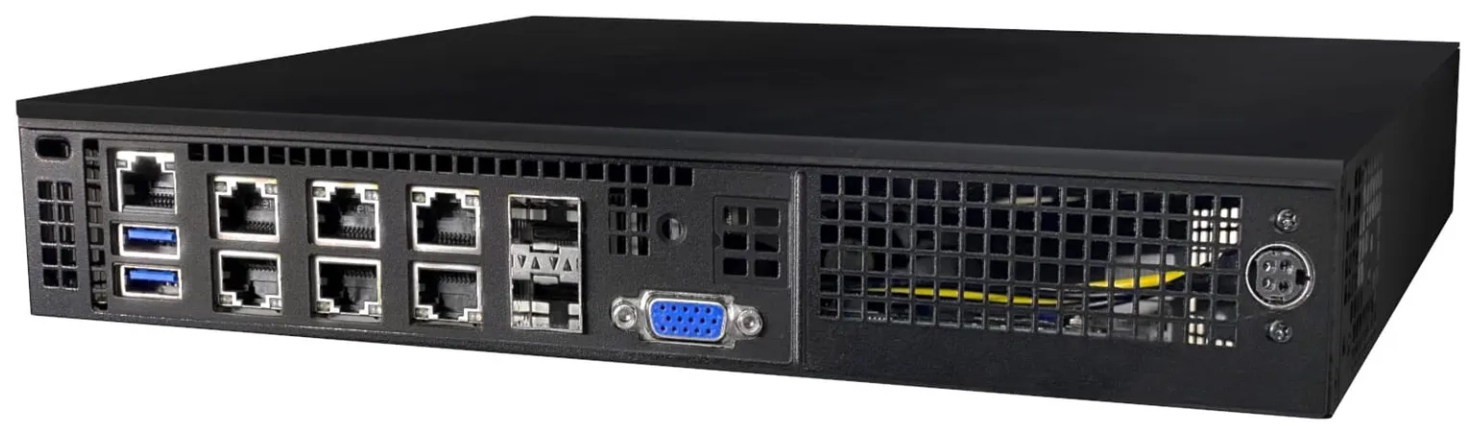
Hardware Specifications
I’m using my companies own SN-3000 series small form-factor node. While this unit can support larger specs, I opted for reduced spec’d components:
- Memory: 128GB RAM
- Storage: 128GB SSD
- Processor: Intel(R) Xeon(R) D-2183IT CPU @ 2.20GHz
 |
 |
Platform and Software Versions
I’m calling the base VyOS a “platform”.
- Platform: VyOS 1.4-rolling-202105192127 (sagitta)
- Podman: 3.0.1
- Suricata: 6.0.2 (container)
Network Architecture
I’m currently leveraging this box at my home, during the proof-of-concept period. It is acting as my internet gateway performing outbound NAT, basic stateful ACL’s and inter-VLAN routing (router-on-a-stick).
- The layer-2 trunk uplink from my switch to the SN-3000 is 1Gbps copper.
- The link from the SN-3000 to my ONT CE (FTTH) is 1Gbps copper with 1Gbps CIR from my ISP.
TL;DR: Here’s the Code
1. Edit registries.conf and add the docker registry:
sudo nano /etc/containers/registries.conf
2. Uncomment and change “example.com” -to-> “docker.io”, save and exit.
unqualified-search-registries = ["docker.io"]
3. Pull the Suricata container:
sudo podman pull jasonish/suricata:latest
4. Verify:
sudo podman images
5. Create a directory structure to store rules files, logs and configurations between container restarts.
Below is my preference:
   ~/suricata/
      |
      |-etc/ (suricata configurations and rule exclusions)
      |-logs/ (suricata stats.log, fast.log & eve.json)
      |-rules/ (suricata combined rules files)
cd ~ && mkdir suricata && cd suricata && mkdir etc && mkdir rules && mkdir logs
6. Verify suricata was built with NFQ support:
# From within ~/suricata/ run:

sudo podman run --rm -it --net=host \
     --cap-add=net_admin --cap-add=sys_nice \
     -v $(pwd)/logs:/var/log/suricata \
     -v $(pwd)/etc:/etc/suricata \
     -v $(pwd)/rules:/var/lib/suricata \
         jasonish/suricata:latest --build-info
From the output printed, look for: NFQueue support: yes
🛑 STOP!
When you ran the command above in Step #6, the suricata container started, checked the directories for its configuration files, didn’t find any, and placed the default configuration files in the default directory: ~/suricata/etc/suricata.yaml, then it ran with the --build-info flag and stopped.
This means you now have a default suricata.yaml file in ~/suricata/etc/ that you can modify to configure suricata to run and operate how we need it.
Best practice is to make a backup copy of this default YAML file so you can always revert to default if you booger up your configuration.
🟢 GO!
7. Configure suricata.yaml
Edit ~/suricata/etc/suricata.yaml to suit your needs. All of the available configuration options in this YAML file is way to much to review in this short blog. Please see https://suricata.readthedocs.io/ for a much more verbose description of the configuration file content and options.
Below are just some of the options I changed for my use case.
| Original suricata.yaml | My suricata.yaml |
outputs:
  - eve-log:
      community-id: false
      types:
        - anomaly:
	    enabled: yes
|
outputs:
  - eve-log:
      community-id: true
      types:
        - anomaly:
	    enabled: no
|
host-mode: auto |
host-mode: router |
nfq: # mode: accept # repeat-mark: 1 # repeat-mask: 1 # bypass-mark: 1 # bypass-mask: 1 # route-queue: 2 # batchcount: 20 # fail-open: yes |
nfq: mode: accept # repeat-mark: 1 # repeat-mask: 1 # bypass-mark: 1 # bypass-mask: 1 # route-queue: 2 # batchcount: 20 fail-open: yes |
The Suricata documentation has a really good section explaining the various nfq modes.
8. Start the suricata container:
NOTE: Since this is purely a proof of concept and not optimized for performance, I’m leveraging a single queue.
# From within ~/suricata/ run:

sudo podman run --rm -itd --net=host \
     --cap-add=net_admin --cap-add=sys_nice \
	 --name=suricata \
     -v $(pwd)/logs:/var/log/suricata \
     -v $(pwd)/etc:/etc/suricata \
     -v $(pwd)/rules:/var/lib/suricata \
         jasonish/suricata:latest -q 1
Verify: Check the: ~/suricata/logs/suricata.log file to verify everything is starting correctly.
Regarding this particular setup I’m looking for:
11/6/2021 -- 17:37:00 - <Info> - Enabling fail-open on queue
11/6/2021 -- 17:37:00 - <Info> - NFQ running in standard ACCEPT/DROP mode
9. Add the required iptables rule to forward traffic to suricata:
Because IPS rules/signatures are more computationally expensive than firewall rules(tuple matching/connection tracking). I follow the basic principal that firewall rules should be processed before IPS rules/signatures. While my SN-3000 has way more horsepower than I need for my home traffic and can process all my traffic through IPS I still follow the principal. For that reason I only send packets to Suricata only after they been filtered by iptables. This is why I insert this rule as #4 in the FORWARD chain. On the flip side I could insert a similar iptables rule first and send all traffic to suricata before it hits the iptables rules defined by my VyOS configuration.
To understand this a little please read through the suricata doumentation on NFQ.
NOTE: Since this is purely a proof of concept and not optimized for performance, I’m leveraging a single queue.
sudo iptables -I FORWARD 4 -p all -j NFQUEUE --queue-bypass --queue-num 1
If you need to remove: Assuming your rule is still number 4 in the FORWARD chain (verify with: sudo iptables -L FORWARD -n --line-numbers)
sudo iptables -D FORWARD 4
10. Enable rule sources and restart suricata:
sudo podman exec -it --user suricata suricata suricata-update
sudo podman exec -it --user suricata suricata suricata-update list-sources
sudo podman exec -it --user suricata suricata suricata-update list-enabled-sources
sudo podman exec -it --user suricata suricata suricata-update enable-source et/open
sudo podman exec -it --user suricata suricata suricata-update enable-source oisf/trafficid
sudo podman exec -it --user suricata suricata suricata-update -f
11. Check your logs
Check the logs directory and verify your files are growing. Verify their contents. Enjoy. Happy Hacking!
Circling Back
The inspiration of this proof-of-concept was derrived from the VyOS blog. In that blog, containers are instantiated using the native VyOS CLI and configuration style. The process I documented above doesn’t leverage the VyOS CLI or configuration style because I’m not sure how to leverage the CLI’s container statements and pass it some of the necessary --cap-add options. I don’t foresee any issues running this via native linux versus the VyOS configuration style. If we want suricata to start post boot we can add it to the /config/scripts/vyos-postconfig-bootup.script. I’m fine with manually starting it for now.
Fail open by design (my preference)
NOTE: This is my preference only! By tweaking some of the configuration this setup can be changed to fail-closed if you prefer. Please consult your organizations policy on fail-open network equipment.
Because this appliance is currently my internet gateway and I have an active household (school & work) I can’t let my mucking around with suricata affect the egress or ingress traffic. For my home-usecase having a blindspot from suricata is of much less importance than having 99.999% uptime.
There are 2 configurations that drive this “fail-open” design:
-
--queue-bypassin our iptables rule -
fail-open: yesin our “nfq:” section of the suricata.yaml file
--queue-bypass is great because it allows VyOS to forward packets and filter them through the iptables/firewall rules that exist while, suricata is doing things like reloading a rules set. What this actually does is keeps the packets in the kernel and filtering them through iptables if a userspace application isn’t available to receive them from the specified queue.
Reference: https://ipset.netfilter.org/iptables-extensions.man.html
By default, if no userspace program is listening on an NFQUEUE, then all packets that are to be queued are dropped. When this option is used, the NFQUEUE rule behaves like ACCEPT instead, and the packet will move on to the next table.
For me this is perfect because of where in the FORWARD chain I put my NFQUEUE rule. I’m processing all my drop and reject iptables rules before the NFQUEUE rule is evaluated. If suricata isn’t available, then the packet is permitted. This doesn’t permit any unecessary packets that would otherwise be dropped because the following rule is an “ACCEPT all” rule. If I never bothered with suricata or if I don’t have suricata running, the packet would’ve passed anyway by ACL design.
fail-open: yes is an available option baked in to suricata which says: ‘if suricata can’t keep up with the packets in the queue (when the queue is full), mark the incoming packets as ACCEPT. For this proof of concept this is acceptable until a baseline of performance can be measured and predicted.
What to do with the logs and events?
If your hardware is powerful enough (and my SN-3000 is) you can host any number of databases, dashboards and search interfaces. Examples are: Splunk, Elasticsearch with Kibana, Graylog or something custom. If your hardware is not powerful enough to run other containers in addition to suricata I would recommend shipping them off the box with the recommended shipper for your database platform. Examples could be: Logstash or some custom scripting.
More to come
While this is the end of this blog post it isn’t the end of my on-going project. I still need performance testing, automation tooling and operational playbooks.
-
Proof of Concept:
- VyOS & Suricata
- VyOS & Zeek
-
Performance Testing:
- VyOS & Suricata on SN-3000 Hardware
- VyOS & Zeek on SN-3000 Hardware
- Automation Tooling
- Operational Playbooks
What other containers should I run on the SN-3000 using VyOS as a Platform?
Resources
- https://blog.vyos.io/vyos-project-may-2021-update (VyOS blog for demoing running containers via CLI)
- https://suricata.readthedocs.io/en/suricata-6.0.2/configuration/suricata-yaml.html#nfq (NFQ operation as explained by the Suricata Documentation)
- https://github.com/jasonish/docker-suricata (for a pre-packaged Suricata container)
- https://docs.mirantis.com/mcp/q4-18/mcp-security-best-practices/use-cases/idps-vnf/ips-mode/nfq.html (for help with understanding NFQ settings)
- https://home.regit.org/netfilter-en/using-nfqueue-and-libnetfilter_queue/ (for help understanding NFQUEUE operation)
- https://suricata.readthedocs.io/en/suricata-6.0.2/setting-up-ipsinline-for-linux.html